
View And Manage Schedules
View
Scheduling best practice is to not set a schedule on the media itself but on the playlist. When a media expires because of scheduling it will display a black screen on all playlists it’s associated with. Instead, best practice is to set expirations on the playlist itself so when it expires the other playlists within the playback media will continue to play.
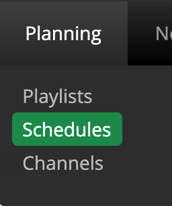
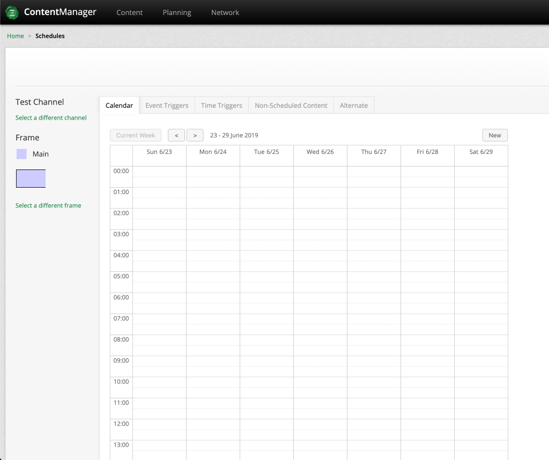
- To view Schedules, navigate to Planning > Schedules
- Double click on the time block to view further details on what is scheduled.
Create
To create new a Schedule simply navigate to the appropriate Channel and Frame then click into a time slot within the calendar.
Upon clicking on a calendar time, the following modal will show up:
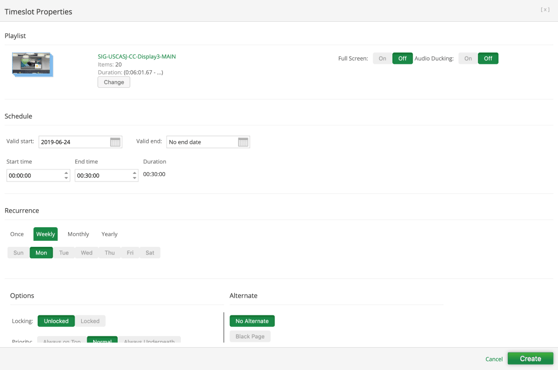
Here you can set do the following:
- Change the playlist playing on the channel
- Edit the date range the playlist will play
- Edit the time frame the playlist will play
- Change the Month and Day occurrences
Once you’ve created the schedule simply select  and
and

Edit
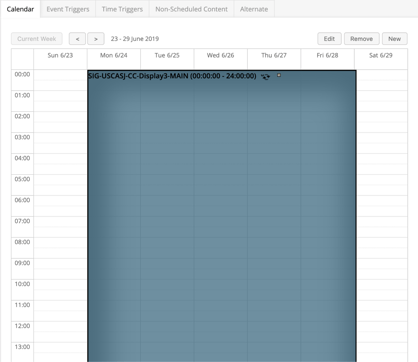
To edit you can double click on the highlighted schedule or select and Edit. Save changes after editing.
Delete
To delete a Schedule, click on a highlighted schedule then click remove or you can double click on the schedule and select remove from within the modal.
As always don’t forget to save your changes.