
Summary
Related Media is one of two tabs available on the ‘Media’ tab in CE Client App(Figure 2.1). In contrast to ‘Briefing Media’ that is adjusted in Briefing Source, ‘Related Media’ is adjusted in CE Admin App. In order to do it you should visit ‘Media’ menu item in CE Admin App(Figure 2.2)
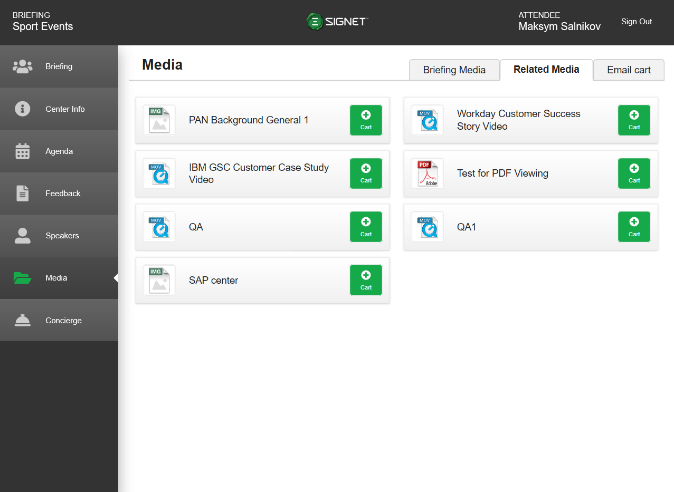
Figure 2.1 Related Media in CE Client App
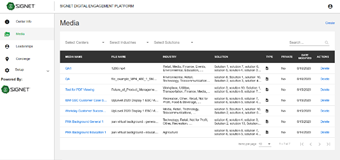
Figure 2.2 Media in CE Admin App
Once you open ‘Media’ page in Admin App, you can view all previously uploaded and saved media files scrolling records in the grid. Clicking on the ‘Media Name’ column will open a page with all fields available for editing(Figure 2.3)
In order to create a new media you should click the button ‘New Media/Create’ at top-right corner above the grid(Figure 2.2) or click the button ‘Save & Add Another Media’(Figure 2.3). After clicking the button a new page ‘New Media’ will appear(Figure 2.4)
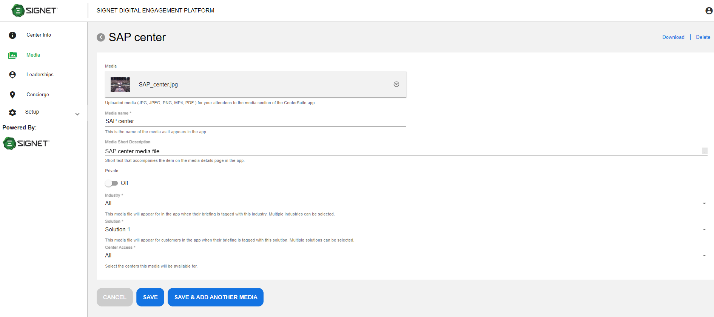
Figure 2.3 Edit Media
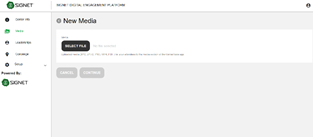
Figure 2.4 New Media
On the ‘New Media’ page you should first select some media file from your computer and upload it. During file uploading a validation of file will be provided: only files with extension jpeg, jpg, png, mp4, pdf and size less than 5 Gb will be acceptable. After successful validation the ‘Continue’ button will be available(Figure 2.5). Clicking on the button will show other media fields(Figure 2.6). Here there are some mandatory fields with asterisk on the right and some optional fields. After providing all mandatory fields the buttons ‘Save’ and ‘Save & Add Another Media’ will be enabled.
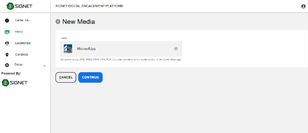
Figure 2.5 'Continue' button is available
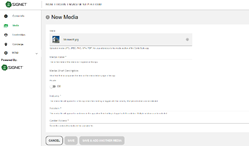
Figure 2.6 Other media fields
NOTE: Media items tagged to General will show always. For No industry or any industry, General media assets will show on the CE App.